Customer Challenge
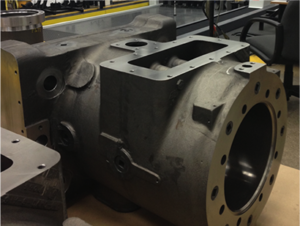
ACME provides precision machining of power cylinders for a manufacturer of heavy equipment used in petroleum pipeline management. After machining by ACME, these power cylinders proceed to another supplier who provides plating and honing services. After honing, the supplier took measurements of the main bore to a mounting face, and found that the bore did not meet the tight perpendicularity tolerances required. This bore is machined and measured by ACME prior to being honed, and ACME measured the bore’s perpendicularity to be within specifications. There were more questions than answers: Are the power cylinders acceptable for use? Were they machined out of tolerance? Were they machined to spec, then honed out of tolerance?
BEYOND PRECISION SOLUTION
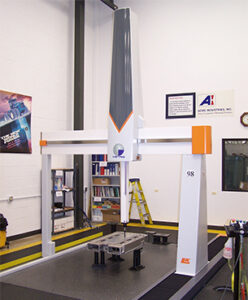
Rather than having a heated debate or hiring an expensive 3rd party metrology lab, ACME engaged in an open dialogue with the customer and the honing supplier. The honing supplier’s data was generated by a portable CMM (coordinate measuring machine), and ACME’s data was generated by a stationary computer-driven CMM. ACME invited the customer and honer to visit ACME with the portable CMM to conduct some comparison analyses. Machined and honed power cylinders were inspected by ACME’s CMM and by the honer’s CMM in ACME’s metrology lab, while all three parties compared and discussed measurement technique. ACME found the bore to be perpendicular within tolerance, while the honer’s portable CMM found it out of tolerance. Quick gage repeatability and reproducibility studies were conducted by those present and they discovered that the variation in ACME’s CMM for this type of measurement was around 0.0002 inches, while the honer’s CMM had measurement variation higher by a factor of 10. By simply replacing the hard probe of the supplier’s CMM with a “touch trigger probe”, they could significantly reduce the variation of their measurements.
ACME INDUSTRIES’ VALUE
By working collaboratively across the value chain, ACME was able to demonstrate that the power cylinders were machined and honed within the stringent requirements of the customer. This avoided any unnecessary and costly process changes, and allowed the supply of power cylinders to continue without interruption. Further, ACME was able to recommend an improvement to the honer’s measurement equipment to enable them to more accurately determine perpendicularity of the honed bore.

